
You are able to utilize any USB web camera and most integrated camera in a laptop or other Windows device to take photographs of patients to save to their charts for SammyEHR. You can do so by following these steps:
- Open the patients chart where you want to add or change their photo.
- Click the Filing Cabinet button and then start the Scan Importer by clicking Standard Scan.
- Be sure to open or switch to Single Patient mode. This way it will assign the photo to the currently open chart.
- Click the Picture option in the menu bar of the SammyCloud Desktop application.
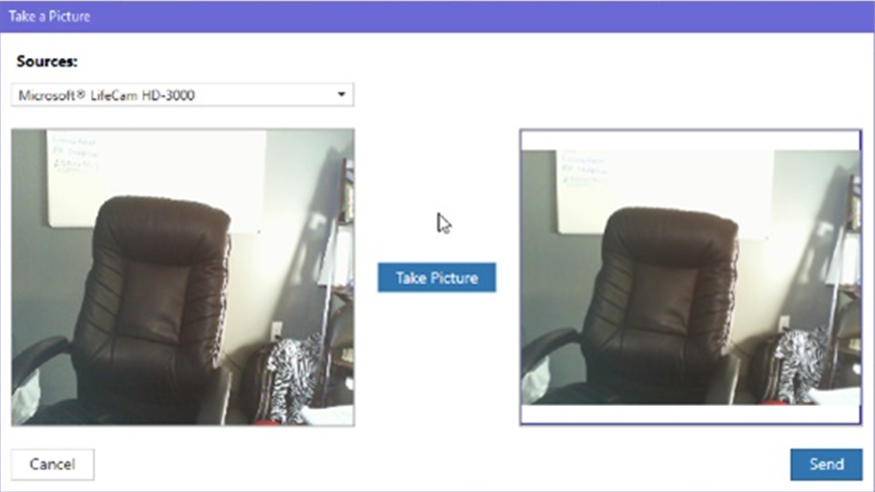
- Once the patient is ready, click Take Picture and then Send.
- Back in the Scan Importer in SammyEHR, you will now see the item display as gold and you can click Import.
- This photo will now be saved to the patients chart. If they had an existing picture, it will ask if you wish to overwrite their current photo. Patients can only have 1 facial photo at a time associated with their chart.